1
Go to your admin panel
The admin panel is the page from which you manage your orders, update products and so on.
2
Go to the Webservice section
From the menu you will need to click the
Advanced Parameters submenu. From there click Webservice.3
Enable the Webservice
By default, the webservice feature is disabled on PrestaShop and needs to be switched on before the first use.
In order to do so, choose “Yes” for the “Enable PrestaShop Webservice” option.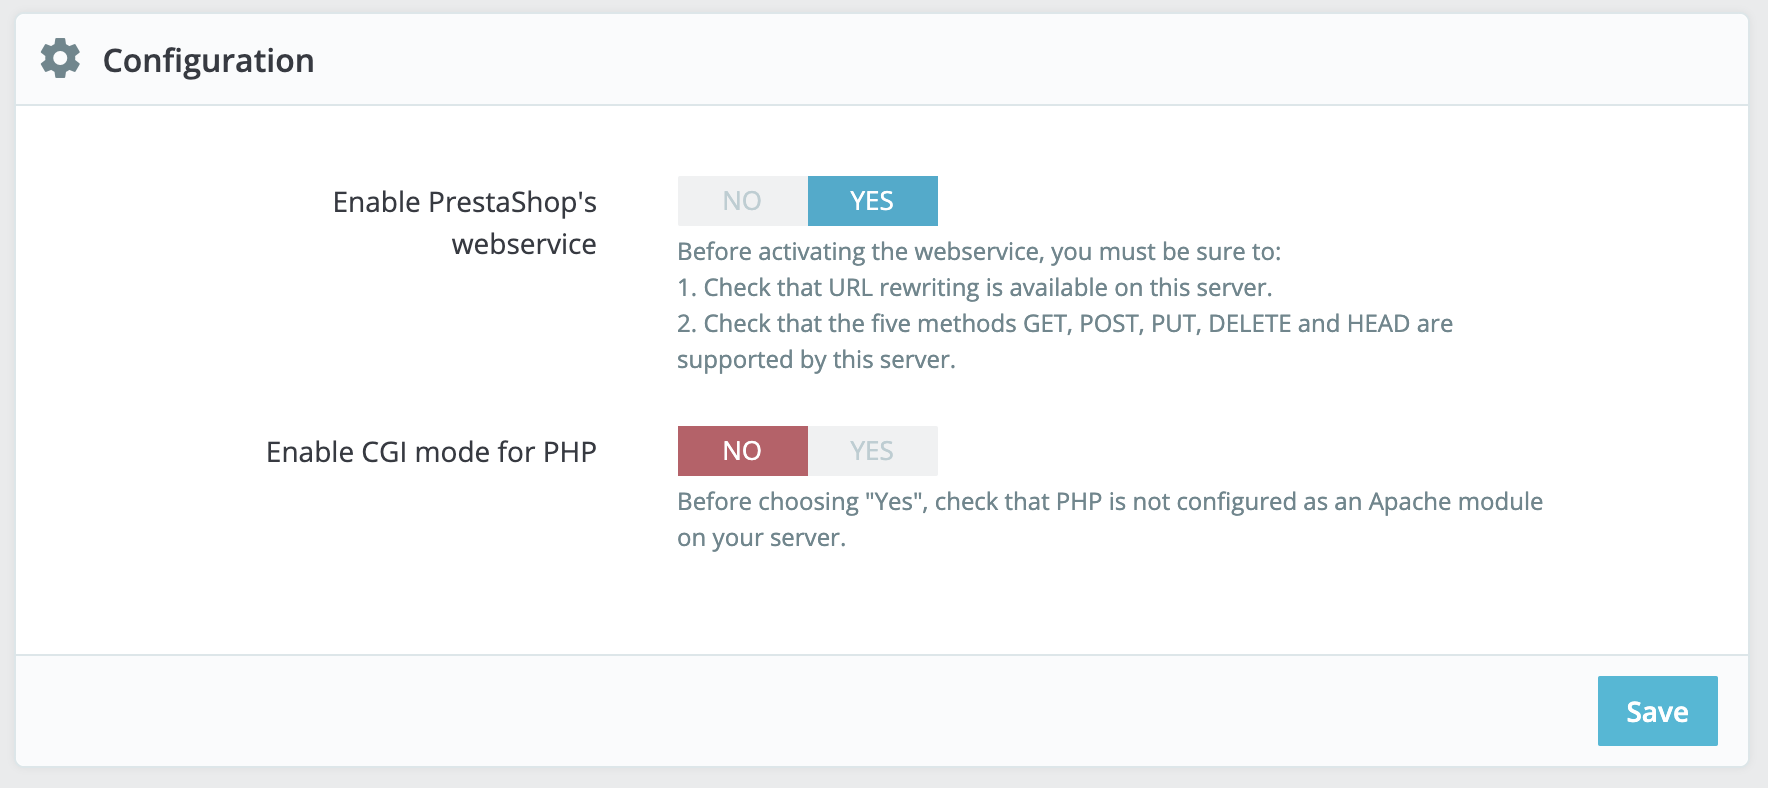
If you read that the Webservice is already enabled for your store you can skip
this step
4
Create an API Key
In order to allow TextYess to have access to your store you need to create an access key.
Click the “Add new webservice key” button to access the account configuration section.From there click generate.In the permissions section give 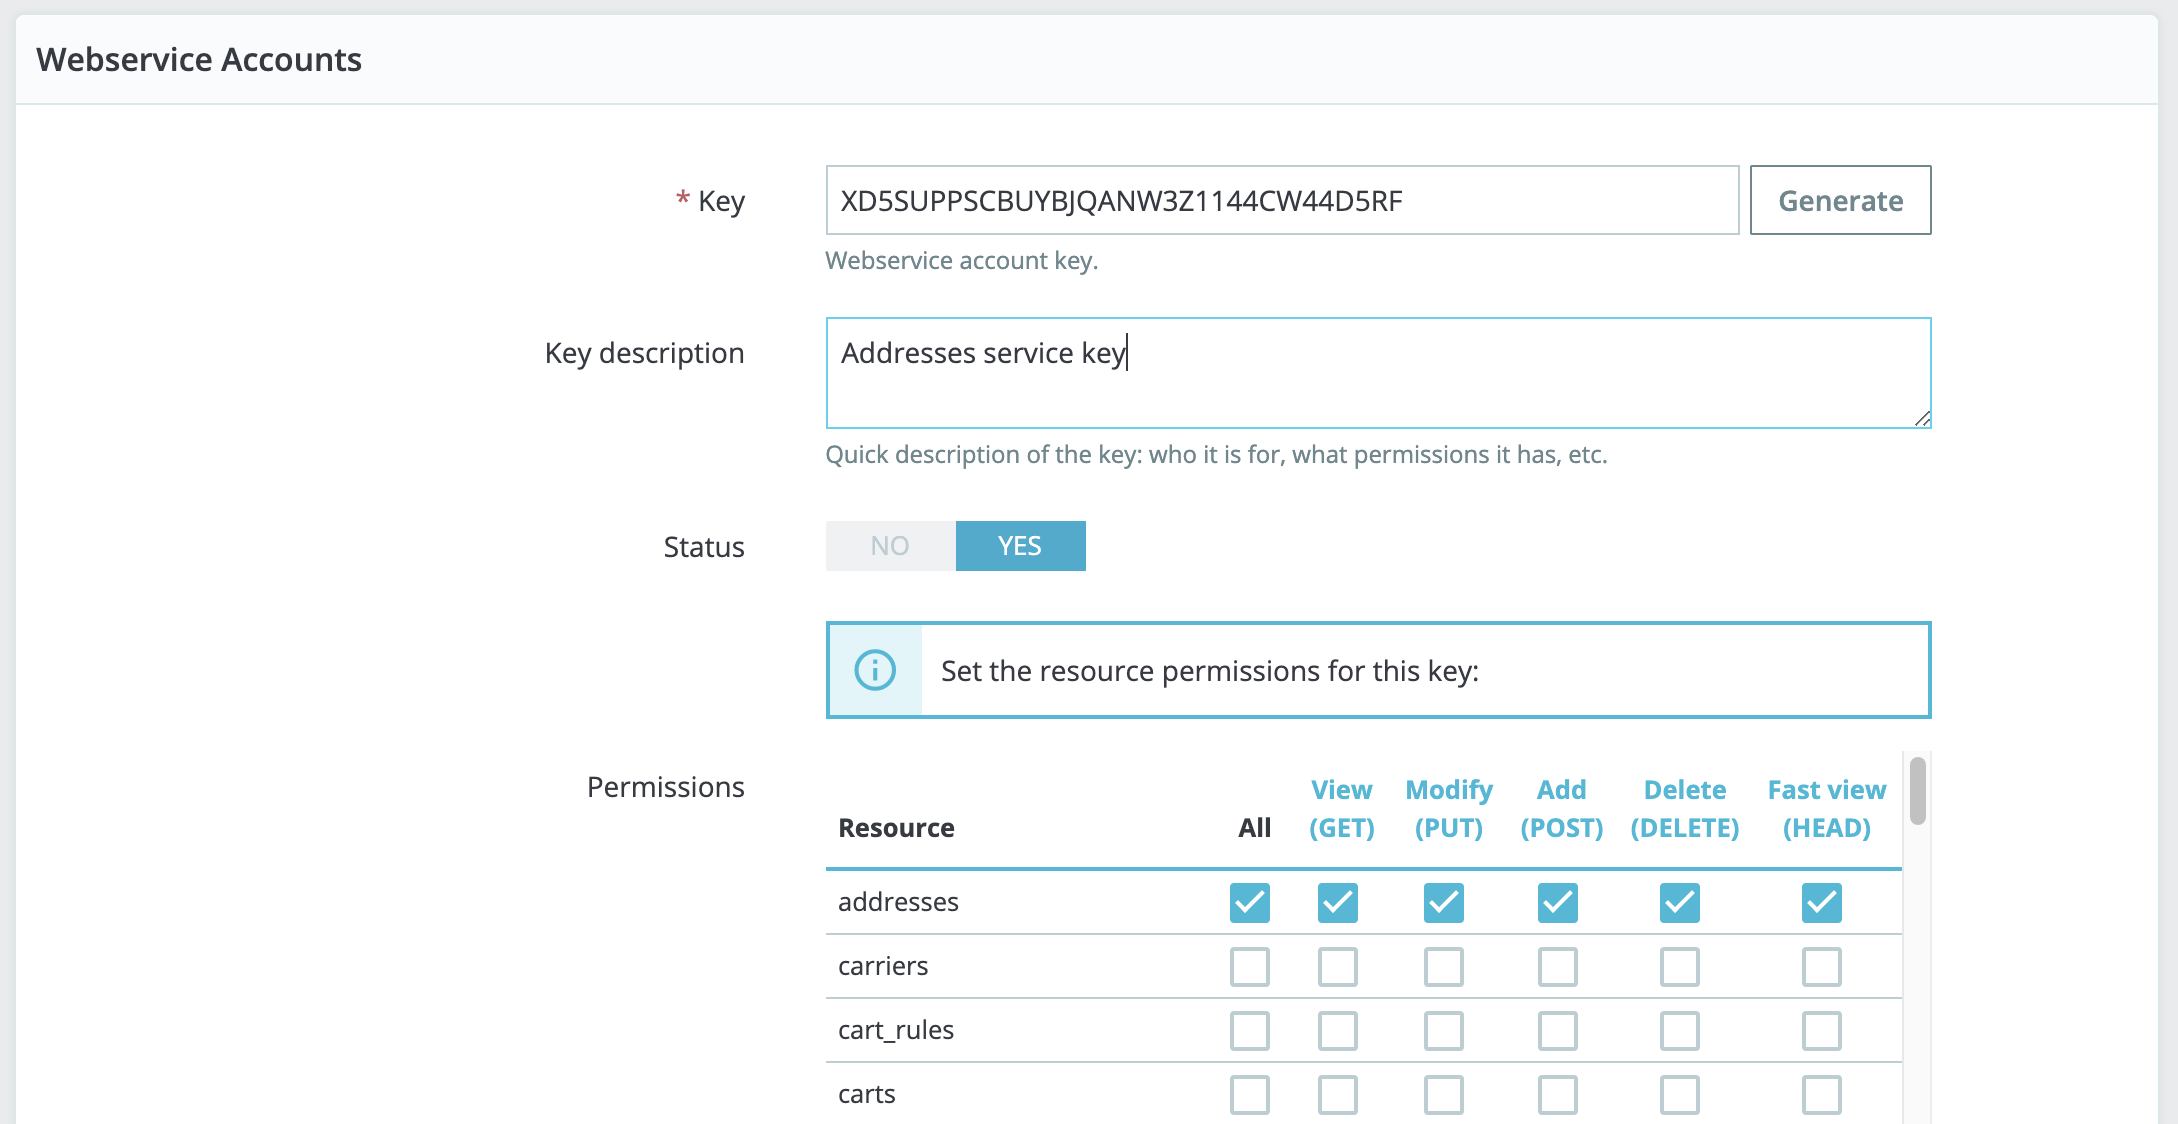
All to all of the following permissions:categoriescombinationsconfigurationscontactscountriescurrenciescustomerscustomizationsgroupsimage_typesimageslanguagesmanufacturersorder_carriersorder_detailsorder_historiesorder_invoicesorder_paymentsorder_sliporder_statesordersprice_rangesproduct_customization_fieldsproduct_feature_valuesproduct_featuresproduct_option_valuesproduct_optionsproduct_suppliersproductsstock_availablesstockstags
5
Add the key in TextYess
Copy the generated API key and past it back into TextYess.
Insert the shop url and you are good to go 🥳