Documentation Index
Fetch the complete documentation index at: https://docs.textyess.com/llms.txt
Use this file to discover all available pages before exploring further.
Looking for the Onsite Chat Widget instead? Check out the Onsite Widget installation guide.
- Option A: Visual Editor (recommended)
Customize your widget appearance
Click on the “Growth tool kit” section of the menu. From there select the Chat Bubble integration block and personalize your widget.
Get the code snippet
From there you will find the code snippet to insert into your Woocommerce theme.
The code will look something like this:
The code will look something like this:
Go to Appearance > Editor
Once inside your store click on “Appearance” from the menu on the right.
From there click on “Editor”
From there click on “Editor”
Open the Patterns section
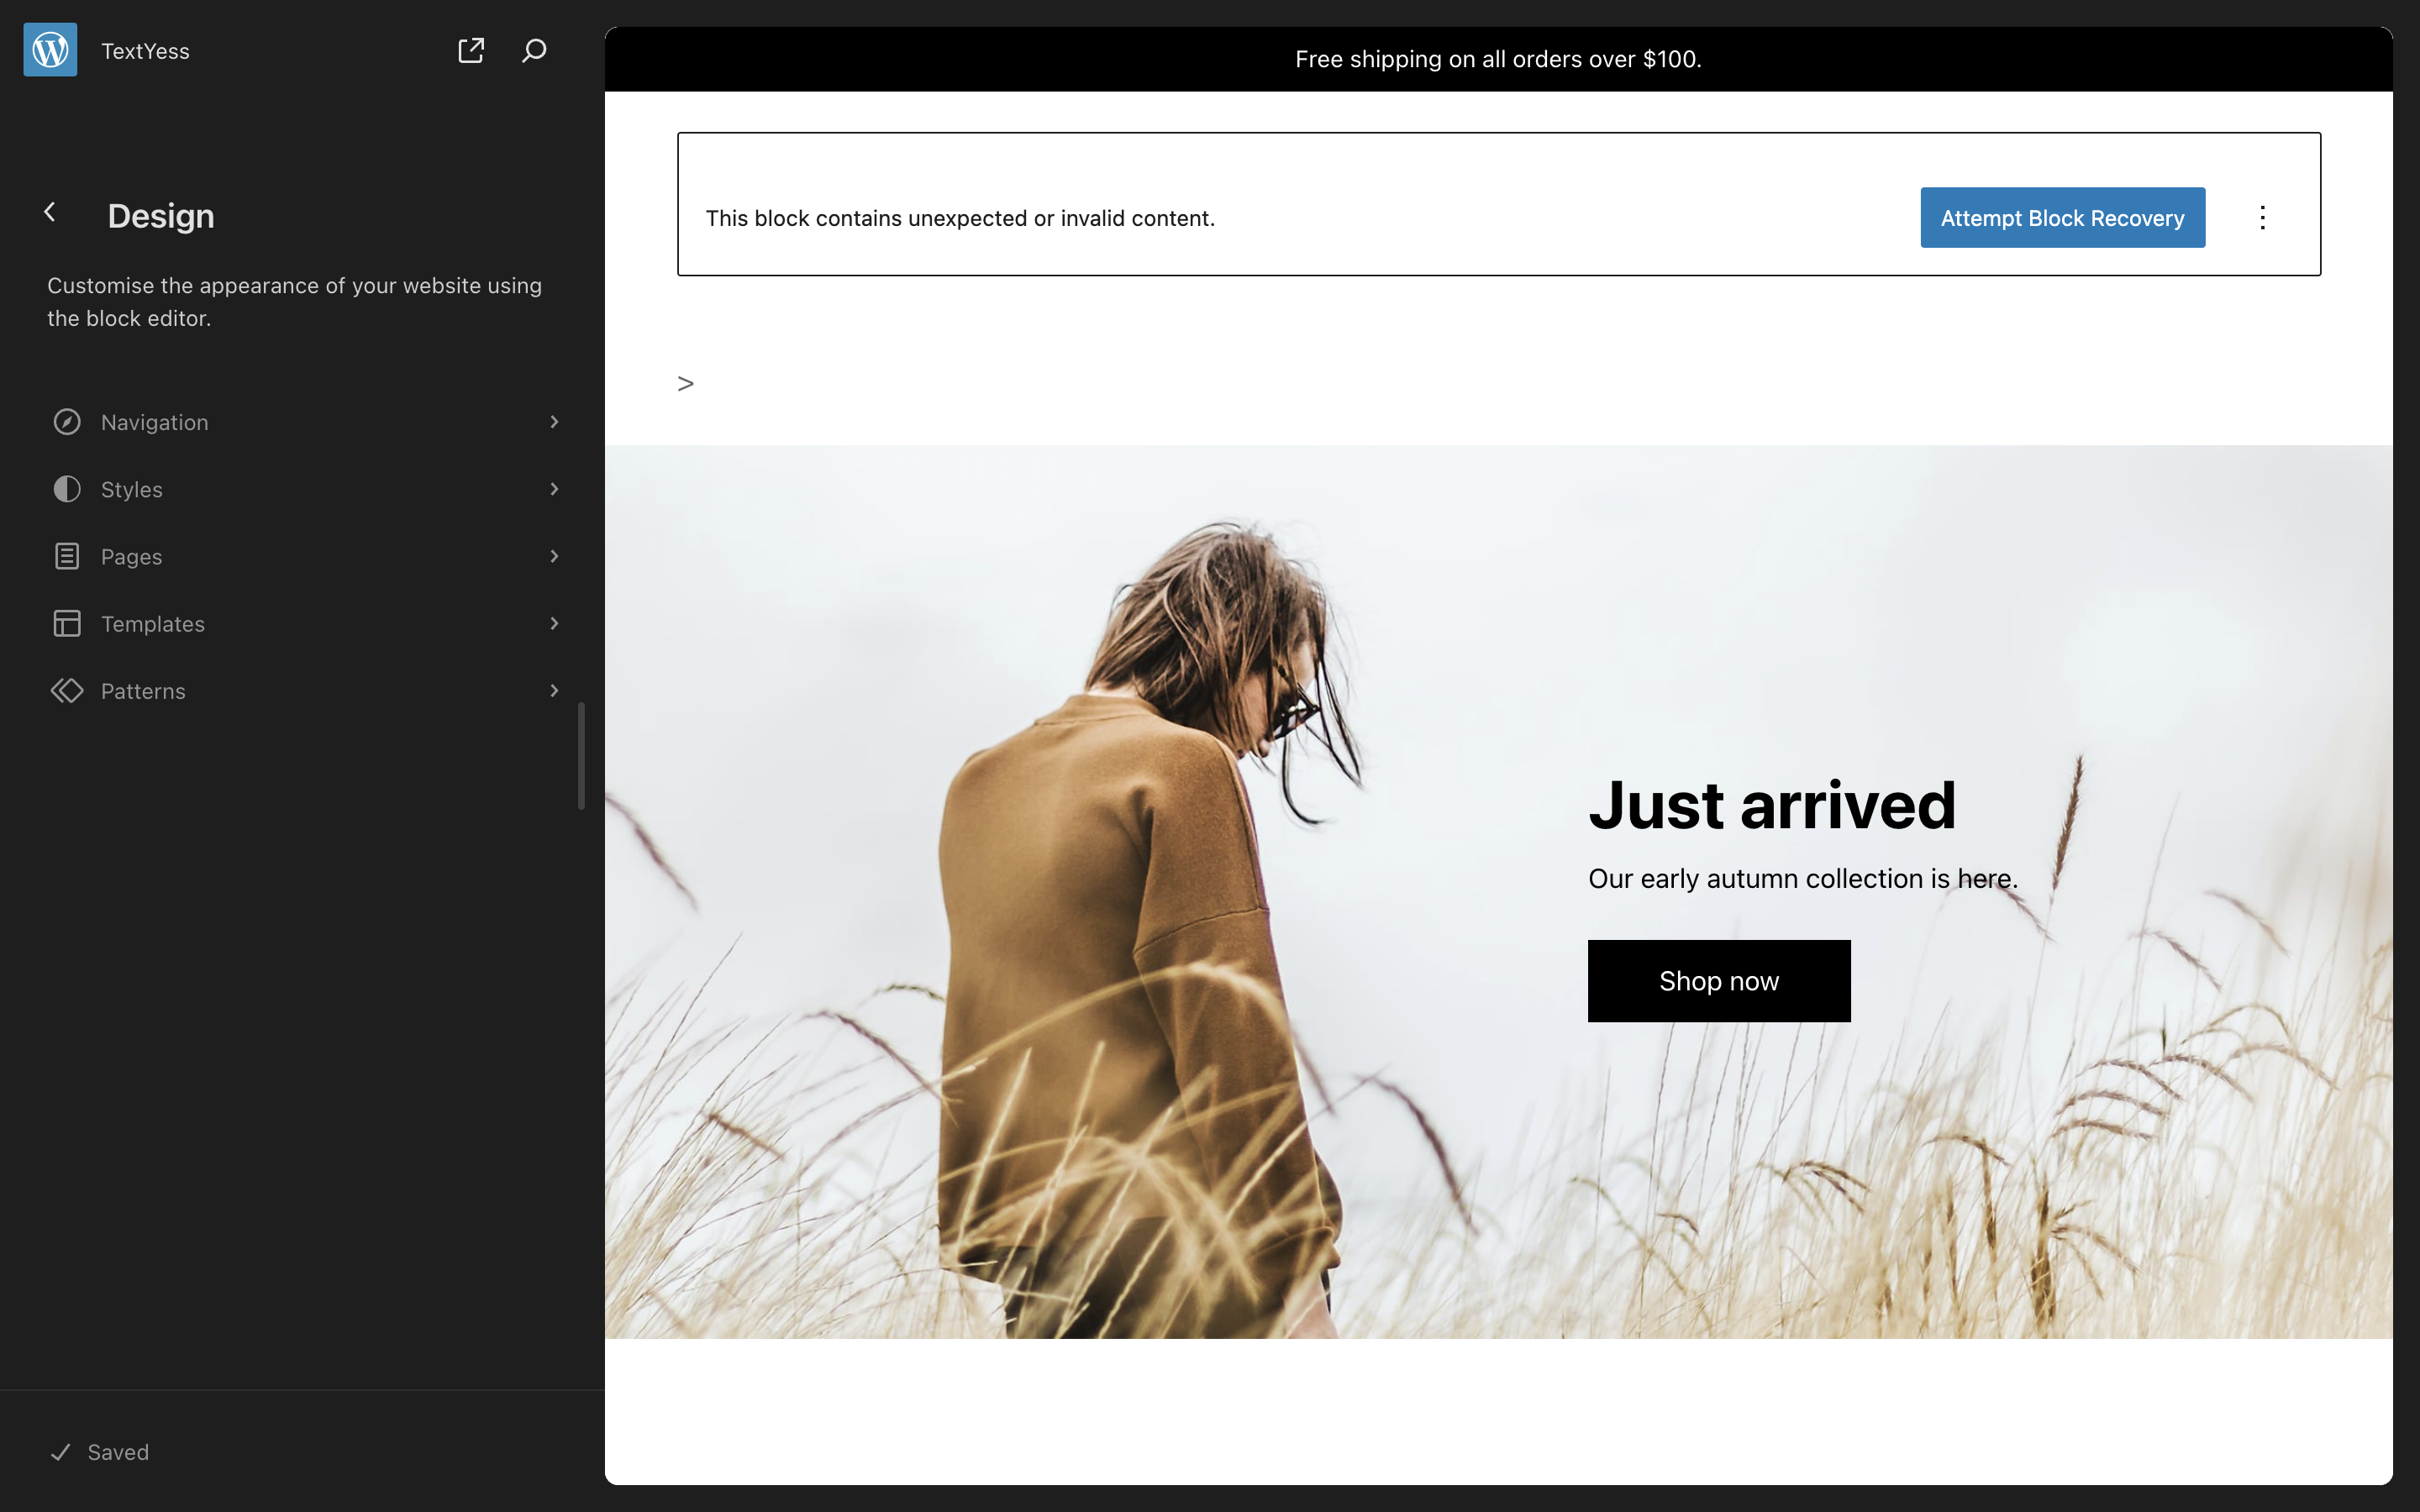
Once opened the editor, you should see something like this. You will need to click the “Patterns”
Open the Header pattern
Several patterns will be shown. You need to scroll down and select the one named “Header”
Once again, more than one header pattern may shown. Click the one in which you want to show the widget.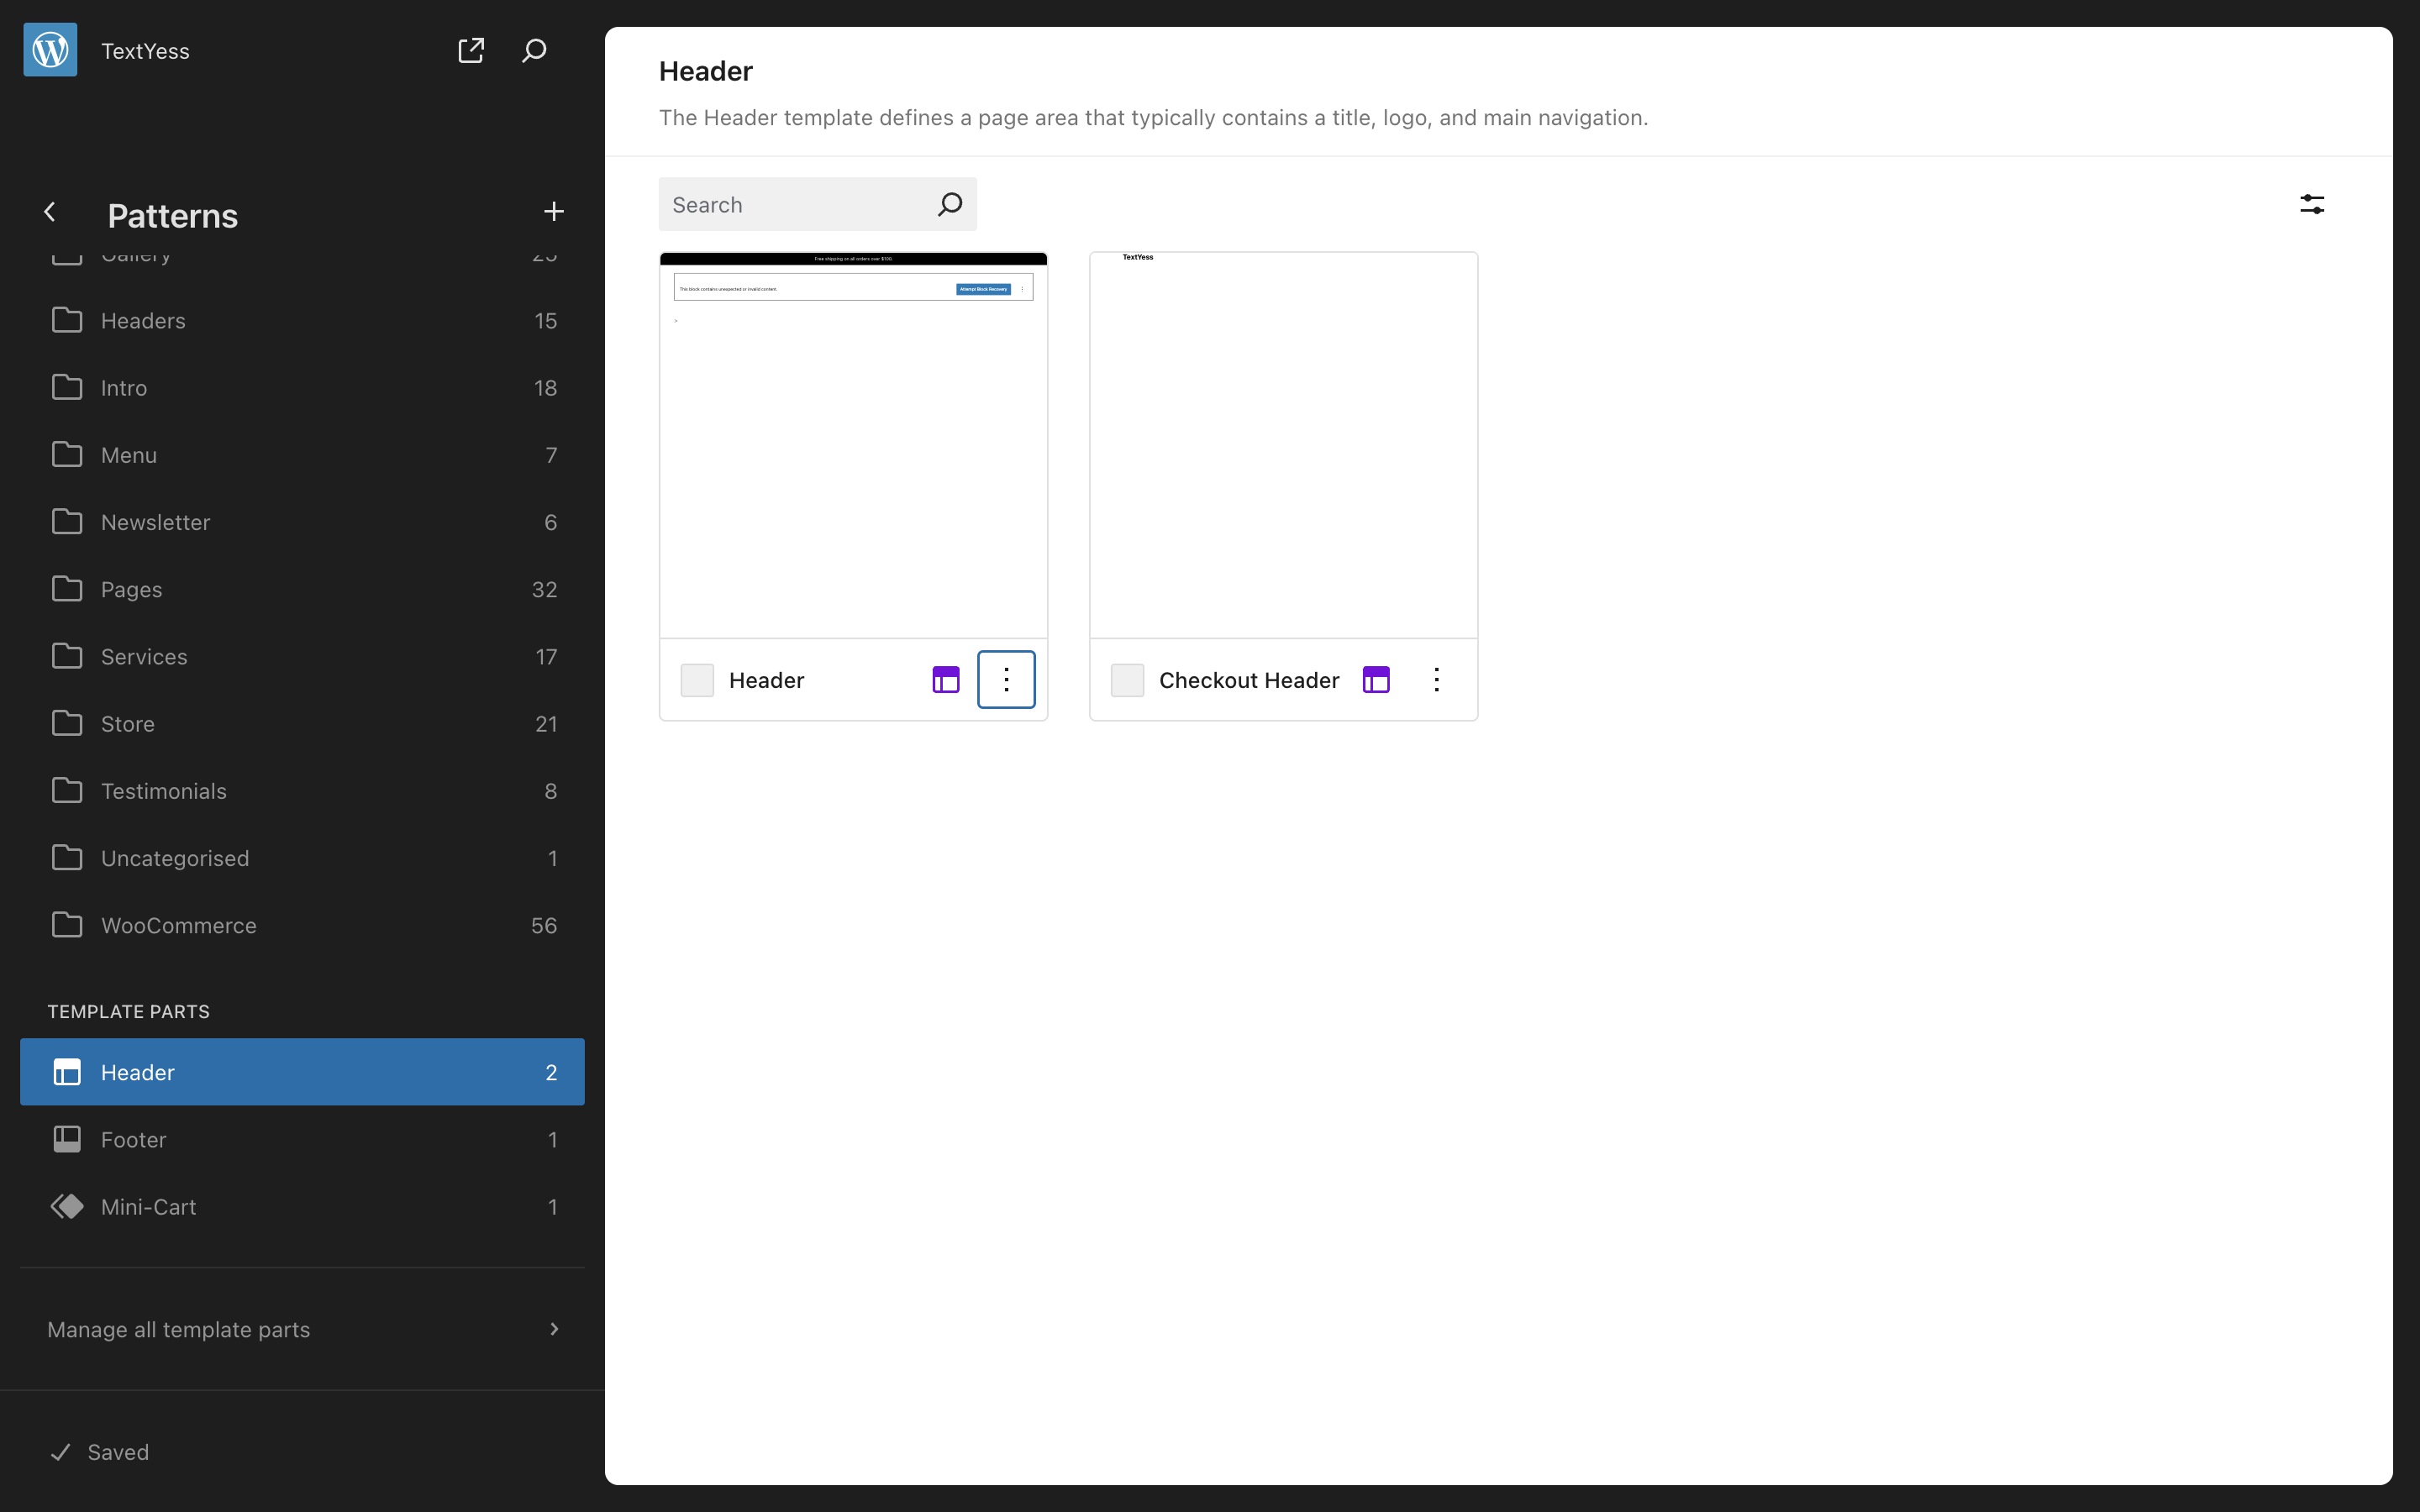
Once again, more than one header pattern may shown. Click the one in which you want to show the widget.
